Making a Folded Coin Ring from a Quarter
The steps I took to create a coin ring for my wife on mothers day 2015. We were married in 1996 so I made it from a 1996 silver proof (90% silver) quarter.
Finished Ring
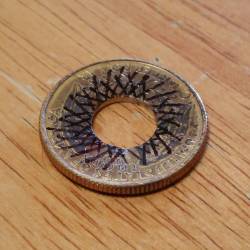
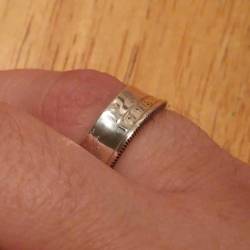
Here's the finished ring. It's not perfectly flat, more of a slightly cone shape, but it fits well on your finger.
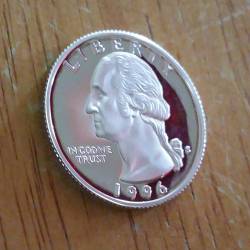
The Silver Proof
I started with a 1996 silver proof quarter that I ordered on eBay for just under $10. Making it from a silver proof prevents it from discoloring with oil from your skin.
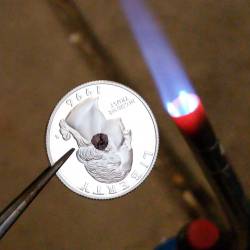
Annealing the Coin
I annealed the coin with a propane torch. The small dot in the middle will disappear when the silver is hot enough. It's then doused in room temperature water.
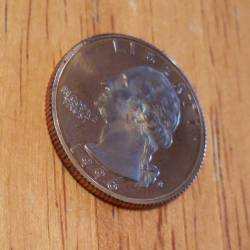
Annealed Coin
This is the coin after annealing. It's blackened a bit now and will need to be cleaned again later.
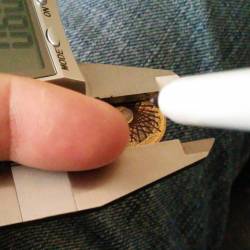
Drawing the Center Circle
I drew a center circle using my calipers set at around 0.60 inches. You do this by drawing a line then rotate the quarter slightly and draw another. Repeat until you have a full circle.
Punch the Center Hole
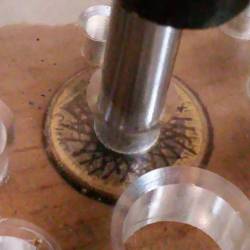
I punched the center hole with a punch and die set from Harbor Freight. This can be hammered or pressed through the quarter. I used a 6-ton bench top press, also from Harbor Freight.
Punched Quarter
Here's the quarter after annealing and punching. It's still blackened and you can still see the marks I made for the center hole.
Doming
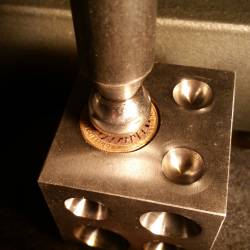
I domed the quarter with a doming block and my press. This step is optional but it gets the folded shape started quickly and makes the process go a little faster.
Hammering on Mandrel
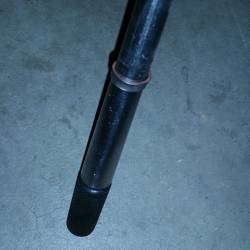
I placed the coin on a mandrel and used a piece of 3/4“ PVC pipe to hammer it down. I hammered until it laid as flat as possible on the mandrel.
Polishing
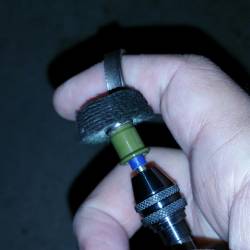
I polished the ring using a Dremel rotary tool, a polishing wheel, and polishing compound.
Finished Ring
The ring is finished.


